»MISMATCHED
Jumat, 02 September 2011
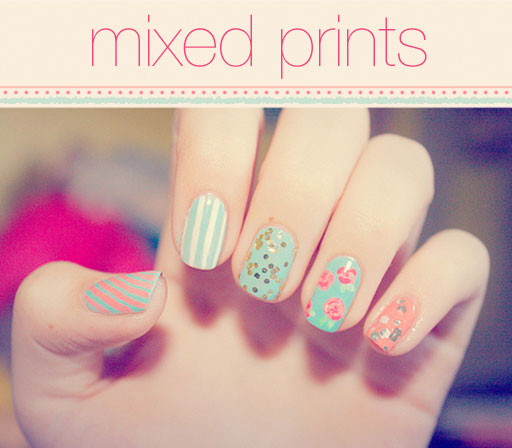
Photo: http://latenightfashion.tumblr.com post designed by lauren conrad
Label: Beauty
words spilled @ 00.59 /
leave goosebumps here ⋄
»BLUE MOON
Kamis, 01 September 2011

photos: kristin ess + thebeautydepartment.com post designed by kristin ess
TOOLS
Silver metallic or glitter polish
Navy polish
10 reinforcement stickers
Clear top coat
STEPS
1. Start with clean, bare nails that have been filed.
2. Apply 1 to 2 coats of the silver polish (depending on the coverage of the polish). Be sure to paint your whole nail. If the color ends up showing through the navy polish it will just add a little sparkle, but it is important to have a smooth first layer. Let the polish dry for at least 30 minutes. It is important your nails are dry before placing the reinforcement stickers on them or else the stickers will peel off the polish and you will have to start all over again. Oh no!
3. Once nails are completely dry, place a reinforcement sticker on each nail with the outside of the sticker mimicking the shape of the moon of your nail. Cutting a slit in each sticker will allow the stickers lay more evenly on each nail. You can decide what size you would like the moons to be, but it is important that the size stay consistent across all your nails for it to look right. Once they are all placed where you would like them, apply pressure to each making sure they are secure to your nail.
4. Now paint the top half or your nail with 2 coats of navy blue polish. Let this coat dry for at least 10 mins.
5. Once that’s dry, carefully pull the reinforcement stickers off of each nail.
6. Finish with a clear top coat.
Hope they turn out great! Don’t be afraid to try out different color combinations. Just remember to use the lighter shade for the moon of your nail. And as always, send us pictures!
Label: Beauty
words spilled @ 23.37 /
leave goosebumps here ⋄
»iPhone Covers


After a long period of wishing, saving and phone-envy I can finally say that this year I'll be getting an Iphone. I'm a little undecided whether to wait for the 5 or just get the 4 (any thoughts on that?) but what I do know is I'll be treating myself to one of these customised and eco-friendly cases for it by SigniCASE. How pretty are they? And the prices are really reasonable too, all ranging around the $35-40 mark.
Label: Beauty
words spilled @ 23.19 /
leave goosebumps here ⋄
»How To: Braided Updo
For most of my life, I’ve wanted thinner hair. When little girls in my class secured their entire head of hair with a single little clip, I suffered from headaches whenever I wore pigtails. Over the years I’ve slowly learned to appreciate my hair, especially when I can turn a classic braid into a romantic updo. Here are my steps to creating the look I sported here.

Label: Beauty, How To Make
words spilled @ 23.01 /
leave goosebumps here ⋄